…and what to do if it isn’t…
Flat, square, level footings are important regardless of the type of wall you build. But they are absolutely essential for ICF construction.
Experienced ICF contractors know that a quality footing will save them money, hassle, and headache, and are willing to pay a premium for it. Many pour their own footings, knowing that the extra time and attention they spend on the footing will pay off as the wall goes up.
Whether you are looking for a good footing subcontractor or want to pour your own and capitalize on the profits, here’s some tips to help you get started.
Why Level Footings Are Essential
Any deviance in the footing from straight, level, or plumb will cause significant problems later.
Here’s why: ICF walls, when filled with concrete, will move so they are perpendicular to the surface—the footing or slab—they are set on. If the footing isn’t absolutely dead level, the wall will be out of plumb.
Likewise, bows or dips will also create hassles. If the footing is lower in the middle than at the corners, the wall will get tight as it goes up. If the footing is humped, the corners will be pushed out of plumb. These problems are even more noticeable in “second generation” blocks with interlocking teeth.
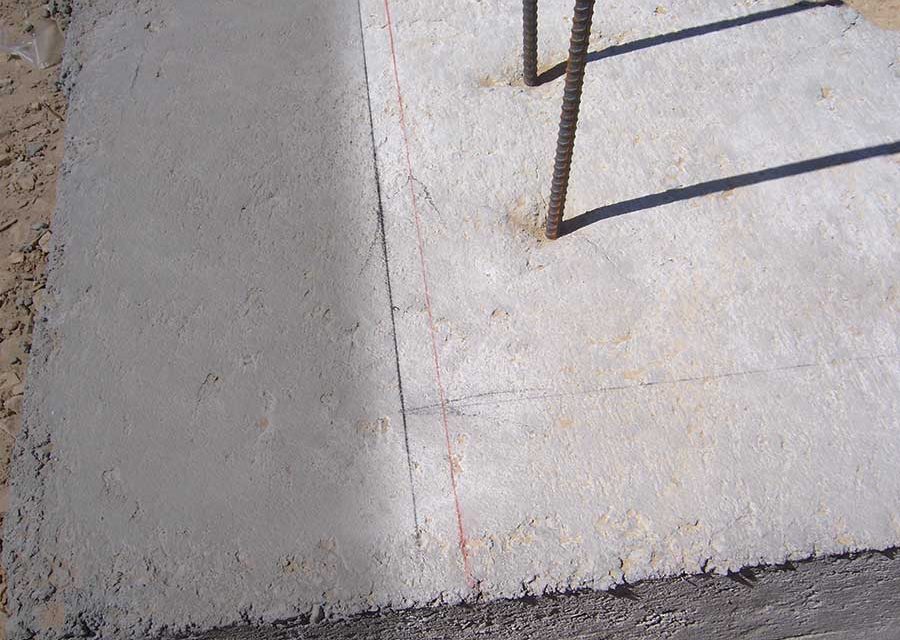
Out-of-square layouts are just as bad. Most ICF installers have cursed an inaccurate footing with out-of-place rebar. It’s so common that some installers automatically plan on installing the vertical rebar with a hammer drill a few days after the footing is poured. Others will wet-set the rebar before the concrete hardens.
It doesn’t have to be this way. It’s possible to pour accurate, dead-level footings every time.
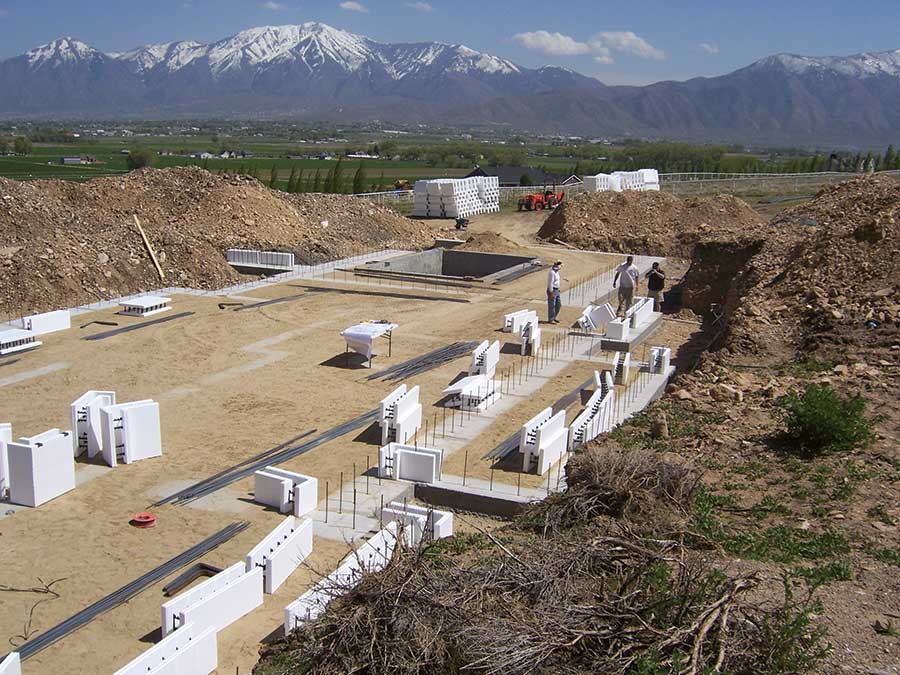
Any extra time spent ensuring your footings are level, square, and accurate will be repaid when you begin stacking the forms.
Formwork
“Level is everything,” says Doug Reid, owner of Fine Line Footing Forms. “I don’t care what kind of a wall you’re going to put on top of it, the footing needs to be level.”
“You’ll pour a flatter footing if you don’t use wood,” cautions Reid. “You can’t find a perfectly straight board. If it has a twist, you may be off by a ¼ or ½ an inch. If it’s bowed, the same thing happens.”
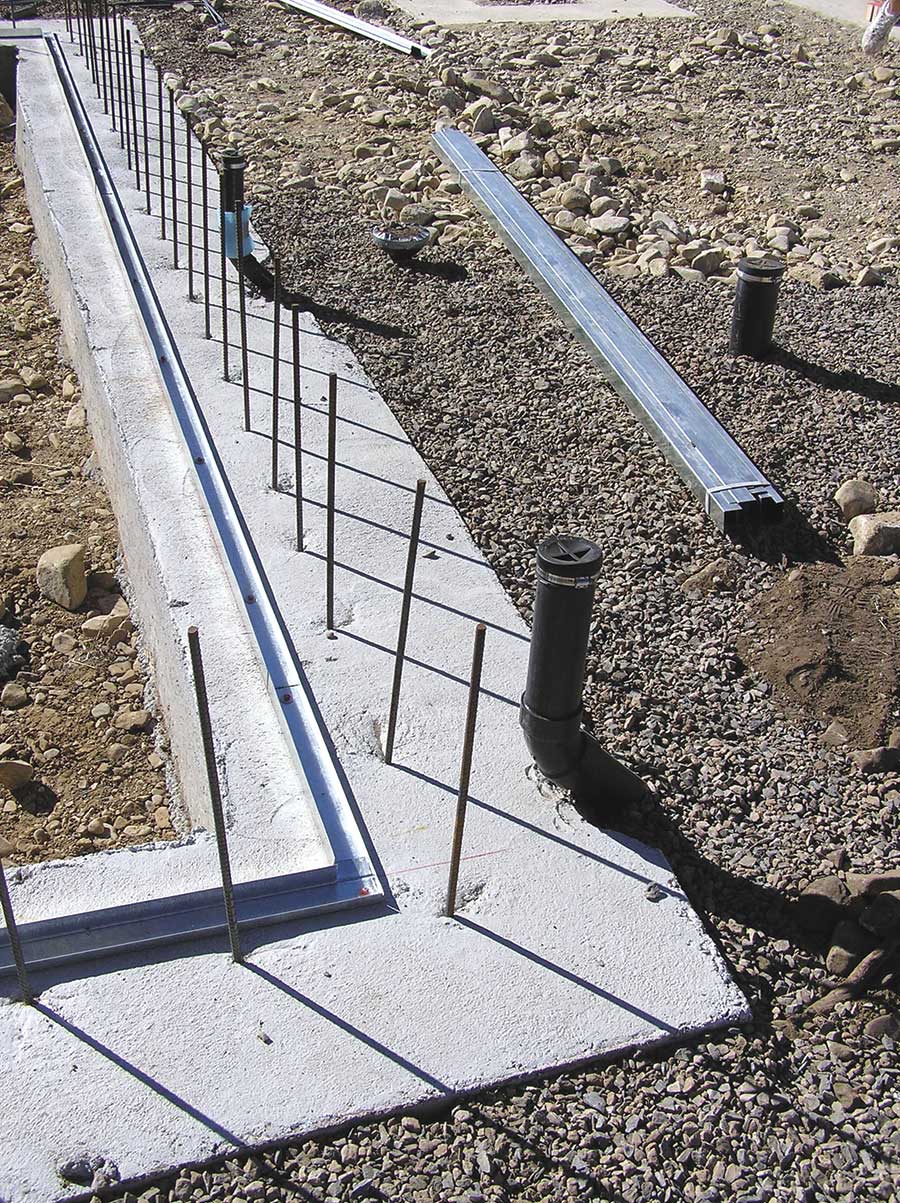
Keith Reifke, who oversees sales of Form-A-Drain for CertainTeed, agrees. “Because Form-A-Drain is a lineal product, its much more consistent dimensionally, with no warping,” he says. “The contractor is starting with a nice straight piece, so if they do a good job of leveling it, they’re better off.”
Reid says the best solution is to use his pre-panelized aluminum footing system. He claims it will help with every step of the process.
“It’s pre-panelized, so the formwork will catch you if you make a mistake during layout,” he says. “It ensures that the inside corners are square, and because you stake from the middle, you don’t have to worry about whether one side is higher than the other.”
Reid admits that the formwork is somewhat costly, but claims, “If you pour one footing a week, even one a month, it’ll be worth the cost. Your jobs will be faster and your footings more accurate. You’ll pay yourself back in no time”
“Don’t pour a 24-inch wide footing if the engineer only requires 12,” he says. “Concrete use is everything when it comes to pricing. With the right equipment and the right training, you can pour perfect footings every time, and that’s money in your pocket.”
Reifke, at CertainTeed, says Form-A-Drain has the advantage of doing three jobs at once. “The same time they are setting the footing, they are setting the drain tile and radon removal system,” he says, “Plus, they don’t need to go back and strip the forms.”
Like Fine Line, Form-A-Drain is more costly than lumber. “If all you are looking at is initial acquisition costs, it is significantly higher,” admits Reifke. “But the benefits are considerable. There’s the ability to get a truly flat level surface. And because it stays in place, contractors have the ability to put the stone in place prior to pouring the footing. It simply gives them a lot more options.” Form-A-Drain has recently introduced a 10” product intended for light commercial use.
If you choose to use wood or a product like Form-A-Drain, take extra care to ensure everything is level and square before the pour. Check for level along both sides and across the footing. Check again when the forms are full, since the mix can sometimes force the forms up.
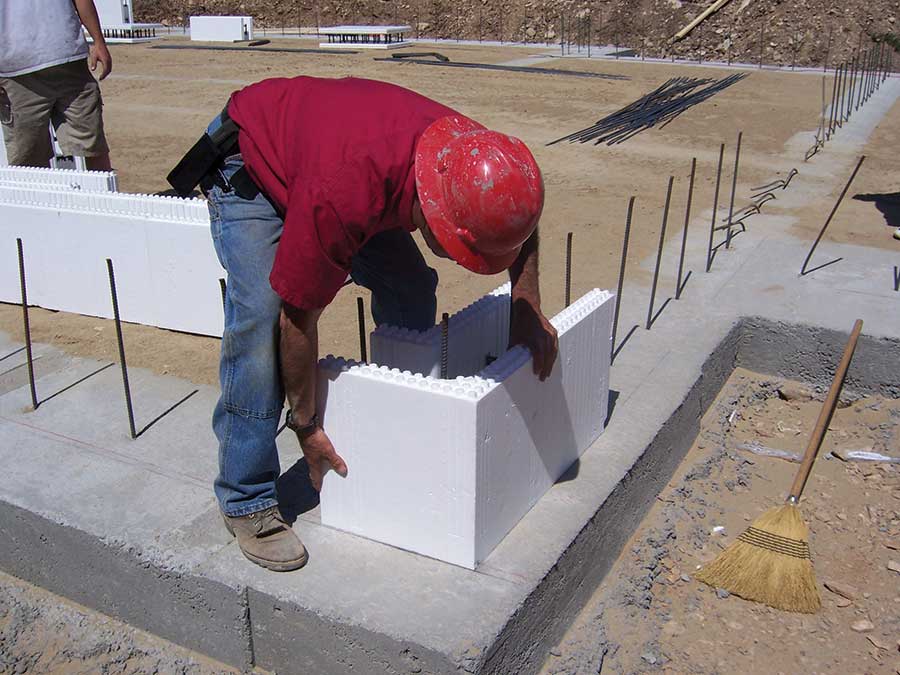
Some forms omit the track but use expanding aerosol foam to secure the forms to the concrete. Either method can handle minor flaws in the footing, but be sure your chalklines are accurate before you begin stacking.
Wet-Set
Some contractors claim that it’s better to build the first few courses of the wall before pouring the footing. This method eliminates a cold joint, and is especially useful for stem walls, since the pump truck only has to make one visit to the jobsite.
The “Jiffy Form” is one way to accomplish this. Made from galvanized steel, it centers the ICF block over the footing. Neal Lesmeister has used it on more than 20 projects and reports no problems. “It’s easy to correct the footing after the first two courses of ICF are placed,” he says. “The builder can make a simple up or down ½” adjustment in minutes to ensure a perfect wall.” Wall braces connect directly to the Jiffy Form for quick set up. A video of how the system works is available at www.weathershieldhomes.com.
Paul Menzel, an Idaho-based ICF contractor, has developed an ingenious mono-pour method using material from Fab-Form. “It’s a really easy to get a perfect footing,” he says. “You don’t need to clean any thing up, or take anything to the next job. And it’s cheaper than lumber.”
Scot Smyth, a contractor who used the method for his home in Colorado, recycled all his footing boards by using them for window bucks. (See story on pg. 19.)
Use 2x4s to set the footing height, then staple the material to the boards. Fasten “hat-track” or sound channel across the top every two feet. These are used to hang the horizontal rebar in the footing. Sheet metal angle strips are screwed on, with the spacing between the angle strips equal to the width of the ICF block.
Menzel uses plastic zip ties to secure the blocks to the hat-track to eliminate float. “You can ensure that your walls are laser-level, plumb, and straight before you ever pour,” says Menzel. “It’s a pleasure to be able to go on up and know your working from something that is
dead level.”
When Things Go Wrong
Even the best contractors occasionally have to build on a sloppy footing.
Ian Geisler, a noted ICF expert who has worked on hundreds of projects across the continent, says that realistically a perfect footing is anything within ¼” of level. “If it’s within ½”, then it’s workable,” he writes. “If it’s more than ½” out of level, then it’s up to you to make… corrective measures.”
Some ICF systems, notably Quad-Lock, use a U-shaped metal track that will compensate for small imperfections in the footing.
On others, “you can build two or three courses of forms in place and the wall will ride in thin air from high spot to high spot,” writes Geisler. The low areas can be filled with small amounts of foam adhesive.
“The easiest method to getting a wall level on an extremely poor footing is to take grades on the footings, find the average of the highs and lows, then make a judgment call on whether to shave the bottom forms, shim the bottom forms or a combination of both,” he says. “Make sure to check both sides of the forms for level, since the wall will tend to lean if one side is shorter than the other.”
Similarly, solutions for out-of-square alignments vary depending on the severity of the problem. Usually, the reinforcing steel can just be bent into place. If major corrections are required, cut the rebar flush with the footing, then reinstall it in the correct location using epoxy and a hammer drill.
Reid, of Fine Line, cautions that some building codes don’t allow glued-in-place rebar. “But the issue really is ‘why were you off so far in the first place?’” he says.
If the footing is severely out of level, Ian Geisler, a noted ICF expert, says the following steps will bring it back to level and plumb:
- Stack two or three courses of forms.
- Ensure that the forms are fully interlocked.
- Pop chalklines on the forms along a level plane.
- Write the grade correction amounts along the wall at every vertical joint of the forms on the bottom course.
- Start shaving or shimming.

