
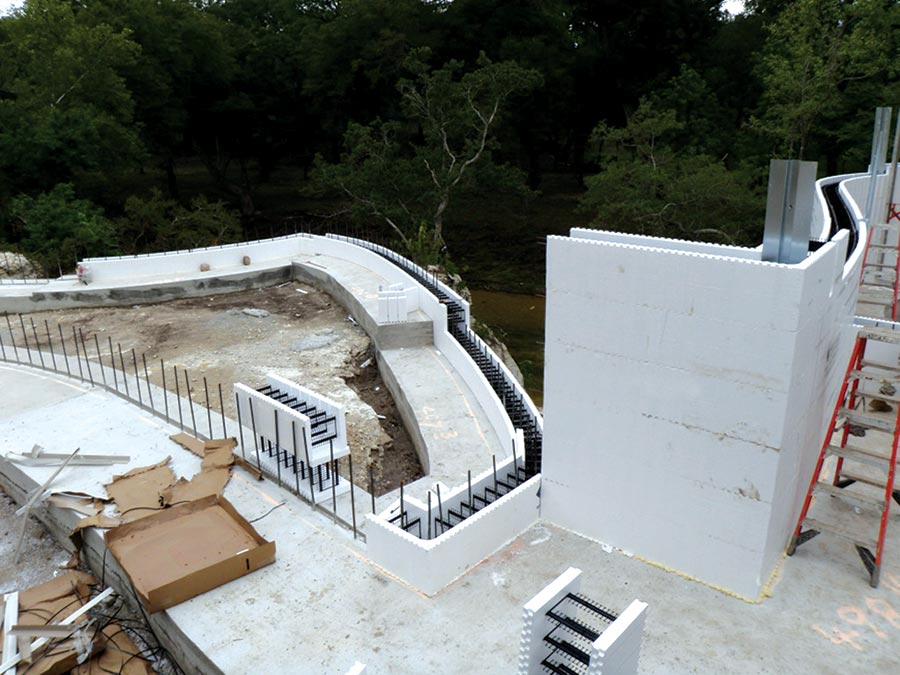
Everyone knows that ICFs are great for creating radius walls.
When a customer asks: “Can you build radius walls?” The first inclination is to reply with a question: “Sure can, but do you know, radius walls cost more money than straight walls?”
One must then inquire about the potential scope of work. Many installers tend to shy away from radius walls because radius walls require more work than standard straight walls with conventional 90 degree and 45 degree corners.
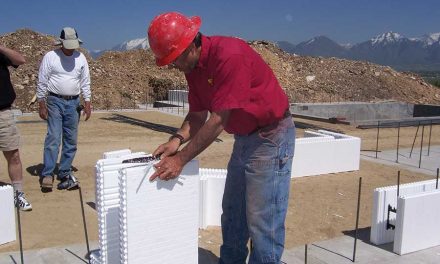
Radius walls really aren’t too much of a challenge as long as you are familiar with the ICF product you are using. Most ICF companies have “Radius wall cut sheets” available that help you determine how to fabricate the forms so that they will bend and form a perfect radius. Here are some simple short tips for creating radius walls using ICF blocks with factory-molded ties:
First, the use of an old electric chainsaw that is picked up at a pawn shop for ten dollars works great. Be sure to dump out any bar oil in the reservoir and clean as much oil off the bar as possible. Otherwise, it will gum up with the EPS and eventually turn solid as a rock. Use the saw for cutting the sections out of the “inner panel” of the ICF and cutting the relief slot in the “outer panel” of the ICF form.
Use reinforced filament strapping tape as a form reinforcer on the exterior side “outer panel”. This aids in holding the form together and assists in keeping the form in the shape of the radius when bent. Two strips applied horizontally on the exterior side of the “outer panel” works great. By the way, Windlock sells 1”- and 2”-wide tape. I prefer the 2” tape for this purpose.
Determine the amount of foam to remove from the “inner panel” by consulting the ICF manufacturer’s radius chart or by experience. Use the electric chainsaw to remove the sections of foam from the “inside radius panel”. Once this is completed, the form will still be rigid and not want to bend, so again, using the electric chainsaw, cut roughly two-thirds of the way through the “outside radius panel” from the inside concrete cavity side. This allows the panel to bend (and the tape you applied to the outside of this panel will assist in holding the panel together).
Now, with the cut panel, set the form on the footing or slab and bend it to match your radius lines. Use 1” filament tape attached to each side of the form to hold the form to the shape of your radius. Some installers choose to use bungee cords for this purpose. The use of the filament tape is adjustable, whereas the bungee cords are not. Once all forms are set and appear to follow the radius, use low expansion foam to adhere the forms to the footing or slab base. Do not adhere the last segments of the form if they are skewed out of place by the tape. Instead, wait until the foam adhesive is set, then cut the tape and adhere the remaining segments in the correct locations. Subsequent courses can be bent and interlocked onto the first course. These courses may require the use of the filament tape vertically to assist in holding the forms down in the interlocks.
When attaching additional courses, be sure the horizontal reinforcing does not force the ICF to go out of round of the radius.
Use a hand-held rebar bender for bending the radius horizontal bar. If the radius is a gradual curve and the horizontal bar is #4, it can be bent easily by hand to perfection. If you have the space and a flat surface, you can replicate the exact radius that the bar needs to be elsewhere on the slab or ground and prebend all of the horizontal bar needed; this saves time later.

Bracing should be attached at a close interval for tight radii to ensure the radius is plumb and perfectly round. If the wall is plumb and the radius established on the footing or slab is correct, then the wall will be perfect! Once the wall is plumb, use low expansion foam to seal the saw cuts on the segmented side of the form. Once the wall is filled with concrete, knock off the excess foam adhesive and you have perfectly formed radius walls! Bracing may be installed on either side of the wall (on the “inner panel” side or the “outer panel” side).
If you haven’t tried installing radius walls and are asked to bid a project with radius walls, take the chance and go for it. Just remember, “Radius walls cost extra!”
Have a construction question you’d like answered? Email your question to Ian at AskTheBuilder@icfmag.com.


